Showing posts with label Jeff. Show all posts

Tuesday, 30 October 2012

Sandy: The Aftermath

Sandy is a messy one.  Clearly she didn't get the memo about picking up after herself.  Hope you all stayed safe/dry last night!  My area in Williamsburg was pretty lucky - everything stayed intact (power, gas, water) except for a brief stint with the internet last night.  Overall, definitely can't complain.  It's day 2 of being under lockdown and I had to go out to get some air - I can only watch the same news broadcasters so many times and eat so many cookies....

 
Most of the stuff in my area is basically intact - except for a few scaffolding boards and a tipped porta-potty.  I stopped by McCarren Park for a bit and saw one of these gimungous light posts that just snapped at the base like a twig and toppled over along with a couple of fallen trees.
 
Hope you all are holding up well - especially those without power. Stay Safe!

Friday, 5 October 2012

Go Watch: Pitch Perfect

Saw this last week at Union Square when it opened up in select theaters and I have to say I LOVED this movie.  I have this paranoia about bedbugs at theaters so in my 2+ years in NYC, I've only seen two movies via Manhattan bound theaters...and this was one of them.   If you're a fan of music, dance, glee (when it was actually good), etc. then you'll like this movie.  For movies, I like mine lighthearted, funny and witty - and Pitch Perfect has all of the above.


Seriously, I laughed so hard every time Rebel Wilson opened her mouth ("Fat Amy") - she is so friggen hilarious!  If you want a good laugh and want to watch something that doesn't take itself too seriously I definitely recommend this movie!


Happy Columbus Day/Canadian Thanksgiving Weekend!

Thursday, 27 September 2012

Product Review: SodaStream

For some reason or another I really wanted to try this contraption - so after grabbing dinner with Erin earlier this week, I bolted to my local Bath Bed & Beyond to pick one up.  SodaStream is a carbonation system which lets you add CO2 to regular H20 from the comfort of your own home. Headquartered in Israel, this company sells its gas infusing machines in 43 countries and is big on being green by reducing consumers' carbon footprint. 

Enough of the technical garb - and on the the review...

Honestly, this machine just looked fun - which is why I got it (I'd like to say that I wanted to be "greener" but that just isn't true).  The model I ended up getting is called Fizz - and it sort of reminds me of a fire hydrant that sits on my counter (it was the only model left at the store). The unit itself is pretty tall but doesn't take up a lot of counter space which is key for kitchen appliances in NY.  The kit came with the actual unit, one tank of carbon dioxide, a reusable bottle/cap used for the actual carbonation and a whack load of sample soda flavors.  What it didn't come with was instructions - which was a bit odd (there are instruction for how to assemble and replace the gas tank but not on how to use the actual machine)...I ended up looking online and found that a lot of people were missing instructions from their kit.  Anyways, after watching a couple videos online on YouTube, I was ready to test it out and make my own fizzy drink!
Step 1:  Fill the carbonation bottle up to wavy line marker (1 Liter capacity) - it's easiest to use cold water here so your drink doesn't have to chill afterwards.
Step 2:  Place the bottle into the machine and screw it in until it's secure.  You want it to be sealed here so that gas doesn't leak out while you are carbonating your water.
Step 3:  Push the lever 3-5 times and watch the bubbles go!  Every time you push down on the lever, the machine will make this loud noise like it's broken which is fine -  just let up on the handle once you hear that noise. 
Step 4:  Release the bottle from the base unit.
Step 5:  You're done! Seltzer water in about 20 seconds from start to finish!
The starter kit comes with a bunch of soda syrups which you can add to the bottle AFTER you carbonate it (you want to keep the aerating tube free from gunk).  Personally, I'm not a big fan of the flavors I tried but I'm also not a big soda drinker to begin with (I got this more to make seltzer water vs cola).
The bottle that you use to carbonate the water doubles as a storage unit and comes with a cap that you can use to cover your carbonated beverage and stash in the fridge.

Overall this is great contraption that does exactly what it says it will do.  What's even better is that you can customize and control the outcome of your drink.  If you like your soda really bubbly, just add another pump of gas when you're aerating the water.  Also, any flavoring that you do add is up to you in terms of what, how much or how little which is a great feature.
  
You can make your own syrups, buy the pre-made SodaStream stuff or use anything else that suits your fancy....like this local ginger syrup from Morris Kitchen (which makes a KILLER ginger ale).  

Another plus of the SodaStream is if you do drink a lot of carbonated beverages, this gadget will save you money in the long run.  One CO2 tank will set you back $15 and will last you 150 liters (i.e. 10 cents/liter carbonated) which is significantly cheaper than anything you can pick up at your local bodega.

In terms of cons, some of the mechanisms on the unit are a bit awkward to use.  The front part of the machine needs to be angled to secure the bottle to the hose and while there is a lever to help position the nozzle, it's still a bit awkward.  There are however, a couple other models on the market that don't have this issue since there is enough room to just adhere the bottle without angling the machine.  The only other downside for me was the lack of instructions - seriously who does that... 

All in all I'm happy with the product and if you're a fan of soda/seltzer this is a nifty thing to have!  PS. If you sign up for email notifications at Bath Bed & Beyond, you can get a 20% coupon that you can use towards your purchase (which is what I did!).   

Wednesday, 16 May 2012

Product Review: Clarisonic Mia 2

A few weeks ago, I was walking around 5th Ave when I noticed the Clarisonic Mia 2 on display.  Up until that point I have never heard about the device but based on what my friend told me about it, I made the purchase.  The product has amazing reviews and everyone my friend knew who has one absolutely loves it.  To sum it up, it's a electronic face brush that vibrates and helps remove dirt, makeup, oil and and dead skin. After contemplating for 30 minutes I decided to bite the bullet and pick one up at Sephora.  At $149 (for the Mia 2), it's not the cheapest thing on the market but I ain't getting any younger! I just kept telling myself to consider this as an investment...an investment for my face.
After making my purchase I ran home to try it out - only to find out that you need to charge the unit for 24 hours prior to the first use!  The unit itself comes in a few colors but I opted for white.  The Mia 2 comes with a travel case, brush head (to be replaced every 3-4 months), and charger.  One of the great things about this device is that it's cordless so once it's charged you can take it wherever - be it the sink or shower.  For me that was an added bonus, since I wash my face in the shower. 

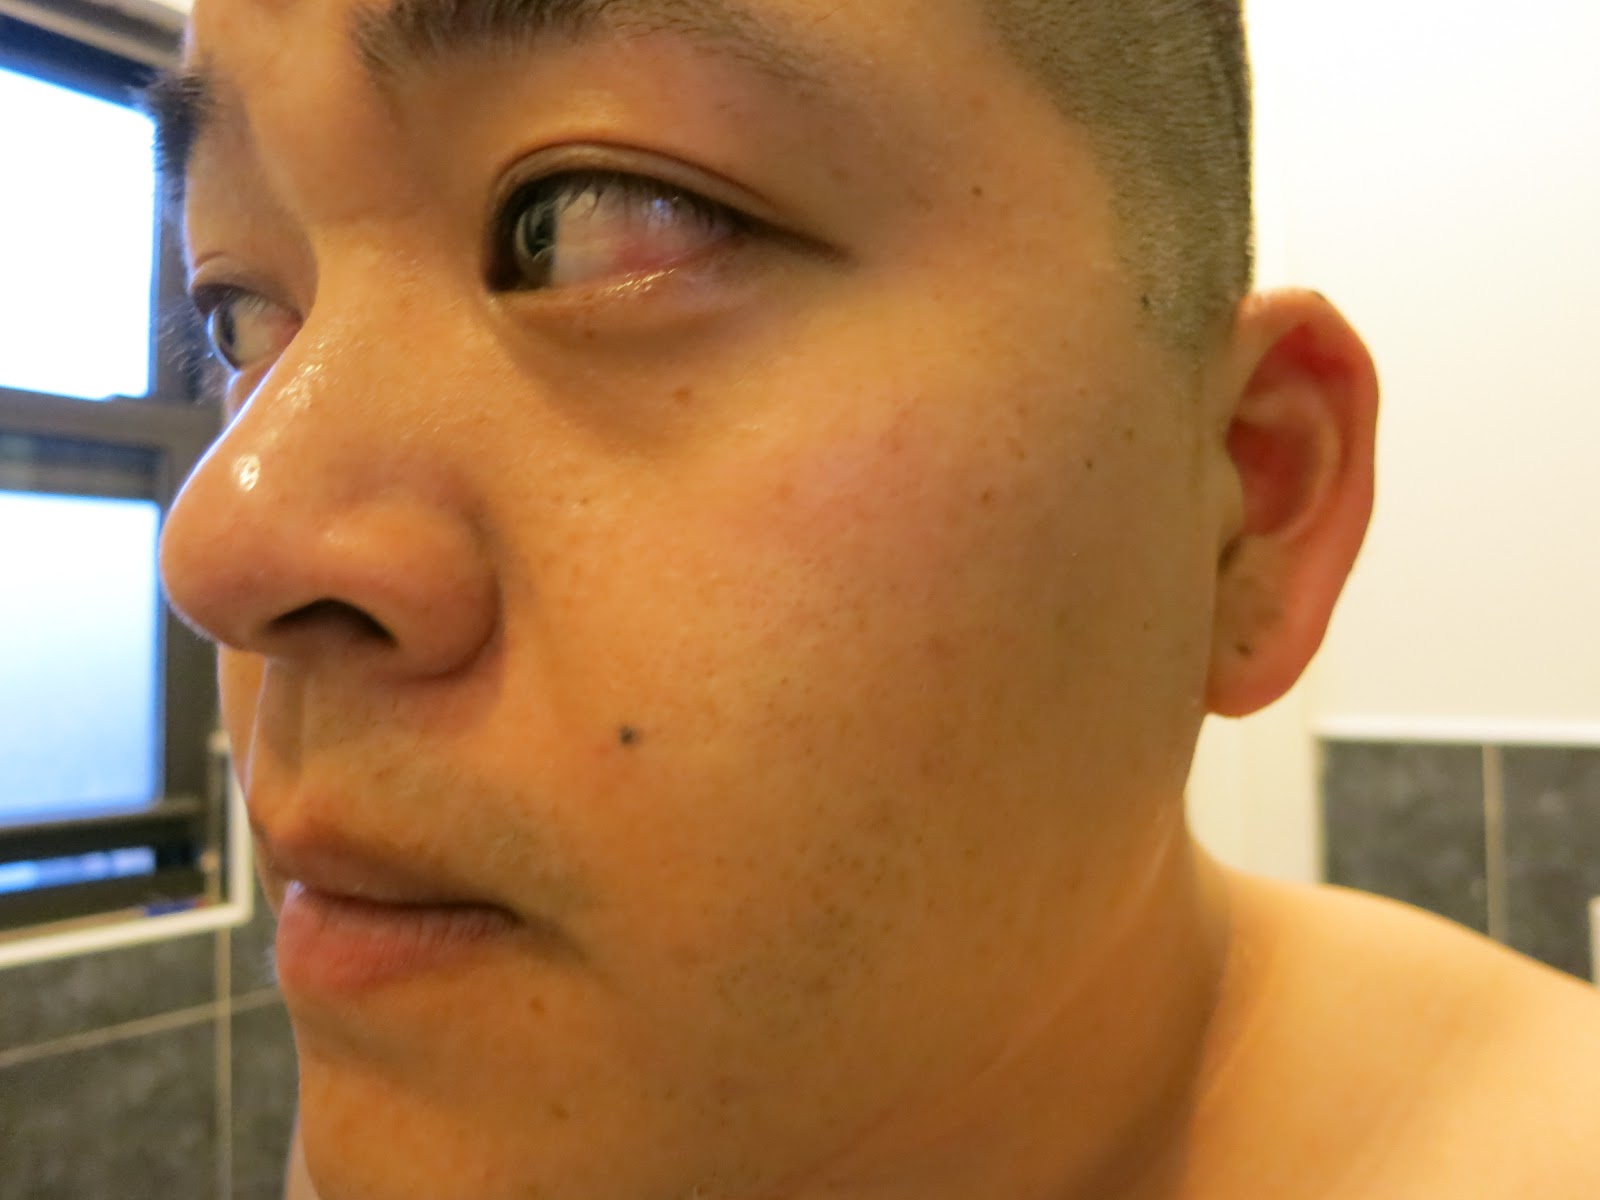
After charging the unit for about an hour I got uber impatient (surprise surprise) and decided to give it a go - and here's the results (before and after shot from the very first time I used the product)...
Before
After

I was honestly floored after the first use because I could actually see the difference - which is rare with skin products. AMAZING.  The most noticeable thing was the evenness of my complexion and how soft my skin was after and how clean it felt.  I kept touching my face afterwards! I've been using the Mia 2 now for a few weeks and I am completely sold.  Other people have commented on how great my skin looks without me even mentioning anything about using the Mia 2, so I know it's working!

One of the great things about the brush is that you can use any face wash you want - just apply to the brush head (or all over your face prior to using the brush which I find works better) and you're set to go.  The Mia 2 has a built in timer and each use lasts for 60 seconds (20 seconds for your forehead, 20 for your chin, and 10 for each cheek).  The brush makes beeping noises so you know when to move to the next area. It just takes a minute (or two if you use it twice) a day to have cleaner radiant skin.  Easy peasy!

Honestly, this gadget is worth every penny and if you want to try it out, I recommend picking it up at Sephora - they have an amazing return policy so if you don't like it after testing it out you can return it! 

Tuesday, 31 January 2012

DIY: Waxed TOMS


I've been wanting to wax some of my shoes forever - but never wanted to deal with the mess of melting wax....until I came across a wax in a bar format (no heating/melting required) called Otter Wax. After scanning their blog I noticed a post that showcased The Coveted doing a DIY on a pair of jeans which would also be a great project! (click here to check out the video if you're interested in trying this out on a pair of jeans)
If you know me, you know that I love TOMS for their comfort and philanthropy - and since they're canvas, I thought they would be perfect for this project.


For this DIY here's what you'll need:

  1. Item of clothing/accessory/shoes that you want to wax (canvas/denim would work best in my opinion)
  2. Bar of fabric wax (I used Otter Wax which requires no melting/heating) 
  3. About 20 minutes
To start, I brushed off any dirt/lint/dust from the canvas surface before applying the wax.  Next, I began applying the wax to the shoe. I put my hand inside the shoe and made a fist to provide a hard surface to rub the wax in.
The wax itself is really firm so it doesn't crumble or crack when you're applying it which is nice.  Since the shoe has quite a few seams and curves, I used short, firm, strokes to apply the wax. I went over each area a few times to ensure adequate coverage. Once you apply the wax, you'll notice the area darken - signalling that the wax has been applied to that area.
Some of the wax will build up at seams when you're rubbing it into the material so I ended up going back and smoothing out/removing the excess wax with my finger. If you'd rather not get the wax on your hands, you can use a toothpick to remove the excess.
Keep going and before you know it, you're done!
I couldn't believe how quick and easy the process was so I decided to do a second pair.  When applying the wax, just note that it's a good idea to take your item outside or into a well lit area once you're done so you can spot any inconsistencies in your application and touch up accordingly.
Pair #2!
The very last step is keep your shoes in a cool/dry place to let the wax absorb fully into the fabric for 24 hours. Any leftover wax can be used for future touchups or another project.

SRC's DIY Rating:
Ease: A monkey could do it
Time: Application time is super fast, but waiting time is 24hrs
Cost: Budget friendly - the wax will set you back about $10/bar (one bar can probably cover 3-4 pairs of TOMS - depending on how big your feet are)

Friday, 18 November 2011

Toronto Bound....

I can't believe its Thanksgiving already. I'm still not used to the holiday falling in November vs October but c'est la vie! This year has literally flown by...and I'm looking forward to a full week of nothing! This year, Sugar Rock Catwalk is doing something different - we're all going to Toronto to spend the holiday! It's been a while since we've seen Lani Love so can't wait!

Since we'll be busy showing Lani where we come from, catching up with family and friends and binging on real Chinese food, our posts will likely be a bit on the sparse side next week. Hope you all have an amazing Thanksgiving!

Friday, 4 November 2011

HILARITY!!!....

Hope you all had a fun Halloween! I just wish the weather wasn't so crazy...I'm still floored that it snowed so much in October!  Anyways, I'm not the biggest fan of Jimmy Kimmel but this video is just amazing.... enjoy!

2+2 ALWAYS equals 5.

Friday, 28 October 2011

MS Paint - Really??

So lately I've been experimenting with MS paint.  Whenever I need a 72 second break from work, I take my trusty two button mouse and draw cartoons of people I know.  Sometimes I literally have to stop myself from laughing out loud by myself at my desk. It makes whatever crap you're dealing with melt away - even if its just for a few moments...Anyways - here's some of the things I've drawn over the past little while.  Each sketch usually follows the same life cycle pattern - I draw, I laugh, I text/email the drawing to everyone in the drawing, everyone laughs, it goes on facebook as someones profile pic...
This is a picture of my flatmates.  I decided they would both look better with different hairstyles. I graciously volunteered to do "A"s hair.
 
 Here's of of SRC's friends who moved away to London this past summer =/ 
SRC! Kudos if you can guess which outfits Erin and Lani's are taken from.  I tried to be as precise as I could be.  Hence Lani's asymmetrical hair and Erin's braid.  Have a great Halloween weekend!